How to Check Netinfo State In React Native

Stable internet connectivity is what makes us informed about the entire world but do you know what the operation lies behind that makes users informed about the status and quality of the internet connection? It is the React Native netinfo API that makes this function possible and is usually practised by mobile developers. React Native is such a framework that can provide a wide range of functionality. In this blog, we will get a detailed understanding of the use case of @react-native-community/netinfo library in checking the status of the internet in a React Native app.
If you want to only check the source code, you can visit the linked GitHub repository.
Executing the prerequisite tasks
There are some tasks that you need to complete before starting coding. This is more important than the coding segment. It is like the preparation phase before actually cooking. Let's see what those are.
- Prepare the React Native environment- You can set up the Environment of React Native in your system by installing some software. However, the choice of software depends on what Development OS, Target OS and React Native tool you want to consider. For my project, I will be considering React Native CLI tools, Windows and Android platforms. You can go for other choices but if you want to avoid storage or configuration issues, consider what I am suggesting.
So, install React Native CLI, Node, JDK, VS Code editor, and Android Studio if you want to develop apps with React native app development company. Check the linked article for detailed guidance. - Build a simple React Native project- Open a terminal from any folder in which you want to store your app and run
npx react-native init netinfo --version 0.71.2.‘netinfo’ is the name of your app in which you will store the creed codebase and0.71.2is the version of the React Native that you will be working with. - Installing the netinfo package- For this project, you need to install
@react-native-community/netinfo library. To install the library, create a terminal from your code editor. Make sure that the terminal is created from your project. Runnpm i @react-native-community/netinfoon the terminal and it will be automatically linked to your project. The library provides API support to keep track of internet connectivity. We will learn about its usage later in the blog.
Adding an asset folder in the project
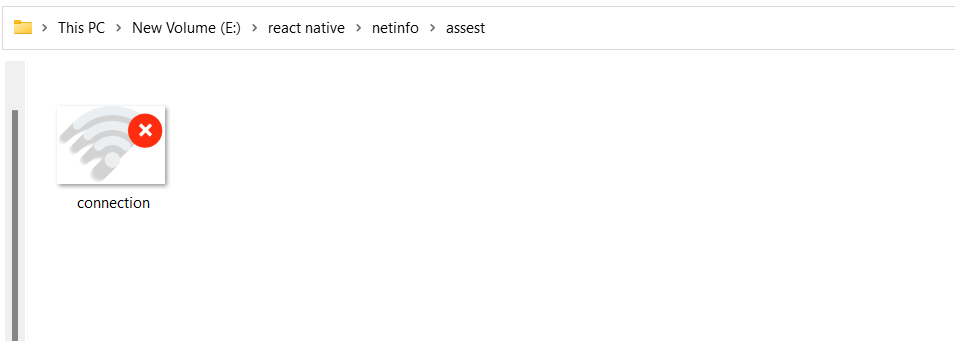
An asset folder is required to store a png file shown in image 1. It will be displayed on the screen when the internet connection is disabled.
You can add this asset simply by downloading a similar image from the web and storing it in the project’s asset folder. If it does not have any asset folder, create one and then store the image in png format.

Image 1
To build the NoConnection.js file
Create an empty NoConnection.js file in your project and embed codes as instructed below. This file will be later used in the App.js file to make users aware of their offline status.
Distributing codes in different files makes the project less complicated and less cluttered.
Creating an alert message
Here, we will make space for some texts to make users alert that they are connected to the internet.
Consider the following syntax.
1
2
3
4
5
6
7
8
9
import { Image, StyleSheet, Text, TouchableOpacity, View } from 'react-native'
import React from 'react'

const NoConnection = (props) => {
  const Check=()=>{
    alert("Connected the page")


  }
First, it imports the React Native core components such as Image, StyleSheet, Text, View, and TouchableOpacity from the react-native library. It also imports React.
This code defines a NoConnection component. It is a functional component that considers props as an argument. Although the ‘props’is declared but are negligible.
Inside the component, it introduces Check, a function. It is used to display an alert message when called.
Using the asset (image) in the codebase
1
2
3
4
5
6
return (
    <View style={{flex:1,backgroundColor:'#26262D'}}>

    <View style={styles.NoConnection_img}>
    <Image source={require('./asset/connection.png')}/>
    </View>
This code renders two view elements. The first view element has some inline styling added to it.
Inside the second view, an image element is used. The source is indicated in the asset folder. As you can see, it uses the require() function to add the source directory of the image.
NoConnection_img is the styling object used to style the second view element. The properties used for the object are provided in the stylesheet segment.
To create a clickable ‘Retry’ button
1
2
3
4
5
6
7
8
   <TouchableOpacity style={styles.Retry} onPress={()=>Check()}>
      <Text style={{fontSize:20,color:'#ffffff'}}>Retry</Text>
      </TouchableOpacity>

    </View>
  )
}
export default NoConnection
TouchableOpacity is used to make a clickable item. Here, it is a button that is made clickable with the TouchableOpacity component. The button has the text ‘Retry’ on it. A styling parameter is used for the text element using a definite font size and text color.
When the user presses the button, the function Check() will be called. The button is styled using the Retry object.
Export the component NoConnection with the default export statement.
Stylesheet for the NoConnection.js file
1
2
3
4
5
6
7
8
9
10
11
12
13
14
15
const styles = StyleSheet.create({
    Retry:{width:100,
        height:33,
        backgroundColor:'#0061C1',
        justifyContent:'center',
        alignItems:'center',
        borderRadius:6,
        marginTop:10,
        alignSelf:'center'
    },NoConnection_img:{width:218,
        height:160,
        marginHorizontal:95,
        marginTop:26
    }
})
As you can see there are two styling objects: NoConnection_img and Retry.
You can change the values of the properties as per your preference regarding the app view.
Codebase for the App.js file
App.js file is necessary for every project be it a simple or a complex project. It is a bundle file that serves as the space where all other files are concatenated together.
Let's cover the codebase for the App.js file.
Considering the import statement
1
2
3
4
import { Image, StyleSheet, Text, View } from 'react-native'
import React,{useState} from 'react'
import NetInfo, { useNetInfo } from '@react-native-community/netinfo';
import NoConnection from './NoConnection';
To use all the files in a single file you have to import the main components from all other files. As we have created the NoConnection.js file separately, we need to import it from the ./NoConnection.
The code also imports NetInfo and useNetInfo from the third-party library @react-native-community/netinfo. Apart from these, other core components are also imported.
So, you need the import statement to get all the relevant components.
Using the useNetInfo() function to retrieve the internet status
Refer to the below-given snippet for retrieving the state of the Internet connectivity.
1
2
3
4
5
6
7
8
9
10
11
12
13
14
15
16
17
18
19
20
21
22
const App = () => {
  const info=useNetInfo()

  return (
    <View>
    {info.isConnected==true?
      <Image source={{uri:'https://images.unsplash.com/photo-1614160859544-177611d11f6b?ixlib=rb-4.0.3&ixid=MnwxMjA3fDB8MHxwaG90by1wYWdlfHx8fGVufDB8fHx8&auto=
      format&fit=crop&w=686&q=80'}} style={styles.img}/>:
    <NoConnection/>
    }
    </View>
  )
}

export default App

const styles = StyleSheet.create({
  img:{
    width:'100%',
    height:'100%'
  }
})
The code introduces the prime App component.
It uses the useNetInfo() as a function that stores information about the internet connectivity of the user. The information will be stored in the info variable. It tells whether they are connected to the internet or not, and also the type of internet connection they are using.
The code uses the conditional statement to execute certain operations like displaying an image from a defined source. isConnected==true? implies that if the internet connection is enabled, it will display an image or else it will render <NoConnection/>.
Ensure that all the tags are closed before exporting the main component App.
There is a stylesheet object added to the codebase.
To check the internet state on the emulator
Now, we will execute the program on a device and check if it works properly.
Follow the given steps.
- Go to the command prompt.
- Pass cd (your project name). For my case, it will be cd
NetInfo. - As you enter the project through the terminal, type
npm install. It will download all the npm packages. - Then again pass
npx react-native run-android.
These two commands will activate the emulator on your development system.
Refer to image 2 for the app presentation on the emulator.

Image 2
You can notice from the output shown in image 2 how users can enable or disable the internet connection from the top panel and how the display changes as they turn it off or on.
Concluding Notes
Checking the status of the Internet connection in React Native app includes a few steps. The integral step is to install and use the @react-native-community/netinfo library. With the useNetInfo hook, you can easily track changes in the internet connectivity state and update the app accordingly. This process of checking internet status can be used in different tasks, such as displaying a message to the user when they are offline, or for optimizing network requests. By following the process mentioned in this article, you can easily implement internet connectivity detection in your React Native app.

A science graduate who has a keen interest to lean about new technologies and research area. With an experience in the field of data analytics and content writing, she aims to share her knowledge among passionate tech readers.