How to Create a Functional ToDo App Using React Native?

Keeping a check on all the scheduled tasks can be hectic. To deal with the concern, there are several productivity mobile apps that can help you keep track of all the tasks you need to complete in a day. This not only makes you a pro in managing time but will also make you disciplined. One such app includes a ‘ToDo’ app. Let’s learn how you can build a ToDo App using the most user-friendly mobile app development framework, React Native.
According to the report of Statista, the market revenue of productivity software is expected to increase to US$ 76.13 billion in 2023. Maximum revenue will be created in the US (approx US$39,130.0m). Looking forward to contributing to the productivity software market? Build your own productivity ToDo app with the assistance of the best React Native app development company.
In this article, you will get detailed steps for building a ToDo app from scratch. In case, you want to visit the source code, here is the linked GitHub repository. However, those who are looking for the guided steps, follow along.
Pre-requisites Parameter
Establishing the Dev Environment- Setting up the environment is the most important task that you should perform at the beginning of your development journey. Note that this is a one-time step and is not required every time you build a React Native project. So, if you have not yet installed the relevant software and set up the environment, the following software you will need.
Install React Native CLI or Expo CLI. Here, we will be using Expo CLI. Get a quick understanding of the difference between Expo CLI and React Native CLI from the attached article.
- Install Node.js
- Android Studio
- Expo Go app on your Android mobile
Building a project with Expo is much easier compared to that of React Native CLI. Get the detailed steps of the environment setup from the linked blog.
Building a Project Folder- You cannot edit and frame your code until you make a container or folder in your dev system. To do this, make sure you have installed the Expo CLI in your system. After you are done, run the command prompt from a particular folder in your system.
For instance, if you want to build the Expo project on the Desktop folder, run cd Desktop on the command prompt. It will direct you to the mentioned folder. Now, pass expo init ToDo on the same cmd. It will create a ‘ToDo’ folder in your ‘Desktop’ folder.
Getting the Third-Party Libraries- One of the main reasons that most developers use React Native for developing mobile apps is that it supports custom components from third-party libraries. So, for this project, we will take advantage of its features. Install react-native-design-system, react-native-draggable-flatlist, react-native-gesture-handler and react-native-get-random-values.
It will take less time to build the project and is also beginner-friendly. Those, who are amateur or new to their app development journey don’t have to take the hassle of creating components and then incorporating them.
Now, we will move ahead with the coding segment.
Creating the App.js file
1
2
3
4
5
6
7
import "react-native-gesture-handler";
import "react-native-get-random-values";
import { StyleSheet } from "react-native";

import { GestureHandlerRootView } from "react-native-gesture-handler";
import { theme, ThemeProvider } from "react-native-design-system";
import { TodoList } from "./src/TodoList";
The initial step requires importing components from the respective libraries.
The code imports react-native-get-random-values; react-native-gesture-handler, StyleSheet from ‘react-native’; GestureHandlerRootView from react-native-gesture-handler; theme and ThemeProvider from react-native-design-system and TodoList from the local path ./src/TodoList.
Here, GestureHandlerRootView wraps the app and is used to handle different gestures while the ThemeProvider provides a theme for the project. To render a todo list, you have to use the TodoList component.
1
2
3
4
5
6
7
8
9
export default function App() {
  return (
    <GestureHandlerRootView style={styles.container}>
      <ThemeProvider theme={theme}>
        <TodoList />
      </ThemeProvider>
    </GestureHandlerRootView>
  );
}
The code exports a function component called ‘App’ as the project’s default export. Following this, it renders a GestureHandlerRootView using the return statement. GestureHandlerRootView uses a predefined style styles.container.
The snippet: theme={theme} uses a prop to pass {theme} to ‘ThemeProvider’.
It also uses a custom component <TodoList /> for the main operations of the app.
1
2
3
4
5
6
const styles = StyleSheet.create({
  container: {
    flex: 1,
    backgroundColor: "#fff",
  },
});
The code defines a stylesheet object named styles. It contains one style property ‘container’. As mentioned, the flex value of the container is 1 and its background color is white.
If you have followed me till here, then perform a single step to make sure that you don’t miss your deadlines and start getting anxious like this cat.

How to Run the Program?
This step is to check whether you have correctly built the program. Running an Expo project is much easier than a React Native CLI project.
You can run the program on your Android device by scanning the QR code from the installed Expo Go app. Make sure that both the device and the dev system are on the same internet network.
You can also open the command prompt from the built ToDo folder and run expo start. It will run the program on your development system.
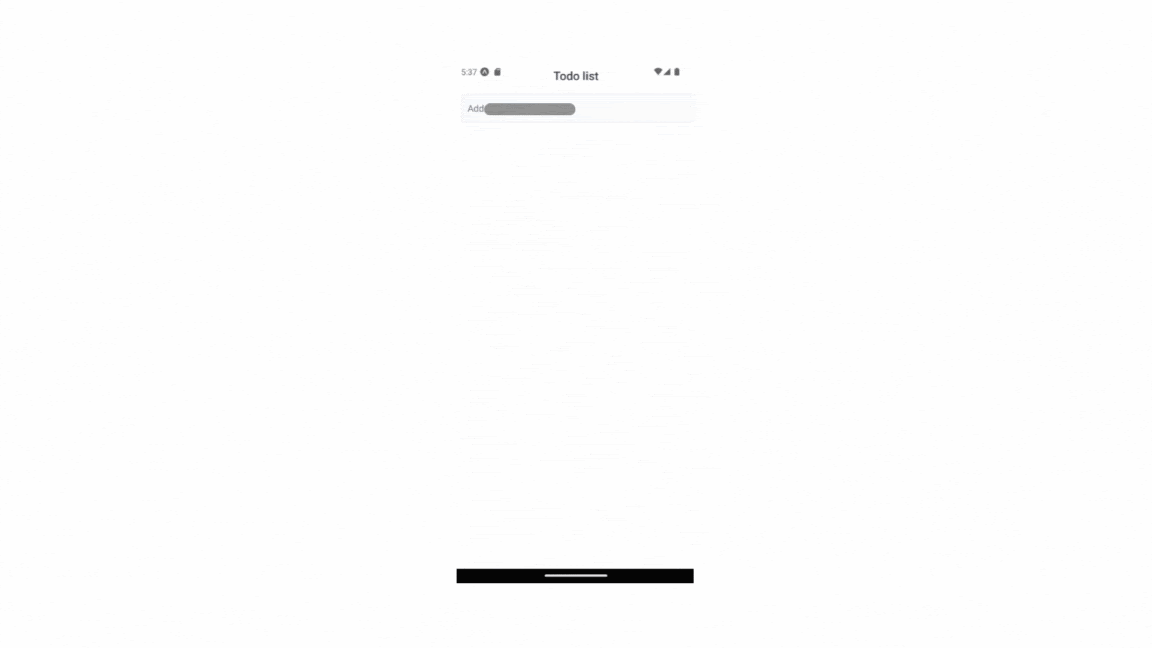
Refer to the following image as the project’s output.

Final Notes
Get all your work done on time with your own ToDo app. It may sound difficult but with React Native, the process gets simpler. All you need to do is keep patience ad keep trying until it runs as per expectations. You can also customize the app by managing a list of tasks, adding tasks, and embedding an option for task completion.

A science graduate who has a keen interest to lean about new technologies and research area. With an experience in the field of data analytics and content writing, she aims to share her knowledge among passionate tech readers.